Hurco DIY: measuring 5-axis trunnion centerlines
- Sep 7, 2017
- 1 min read

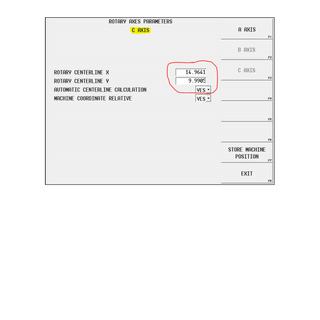
Anyone who runs a 5-axis machine knows how important accurate centerline measurements can be for accurate machining. Often times, however, when troubleshooting process issues, or after a slight “bump” of the machine, there might be a need to verify or re-measure these centerline values. This usually requires a costly service call, and, even more painful, costly downtime of the machine while waiting. Although there is no substitute for the accuracy of the certified kit used by Hurco and distributor service personnel, this procedure will hopefully allow customers to keep their machines up and running (even if it is only while waiting for the service technician to arrive).
I also feel it necessary to caution anyone who will be trying this procedure that the centerline values are vitally important for a 5-axis machine to function properly. Before you change any values in the control, make sure to note the original values. This will allow you to return to a known place of origin if things don’t go as planned.
The tools you will need for this procedure are simple: a magnetic base with a test indicator, and an edgefinder mounted in a toolholder. That’s it! Obviously the more accurately you execute this procedure, and the more accurate and trustworthy your tooling is, the better your results will be. For example: using a tenth-indicator (or a micron graduated indicator) is best, but a half-thousandths indicator will work.


Comments